Do you want to know how to make tunics?
As an entrepreneur of a clothing fashion brand, you may be willing to know how to make tunics.
In this article we will describe all the necessary steps that will help you to know how to make tunics.
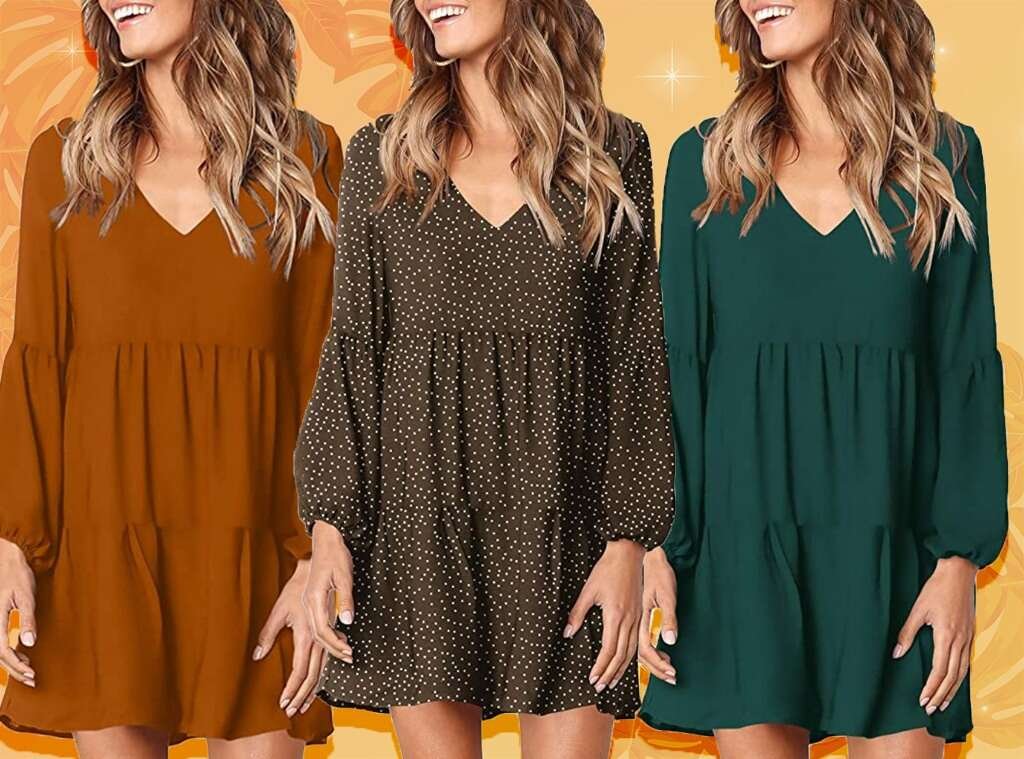
A method for making a simple tunic from a single piece of fabric is shown below.
The pattern is suitable for both women and men of average height. The tunic can be made in a variety of lengths, with or without gussets, and with or without a neckline to fit your preferences. A simple round or keyhole neckline with a facing is defined in this pattern. Above all you’ll need chalk, a measuring tape, pins, fabric, matching thread, and fabric scissors to finish the tunic.
You can use a washable fabric, ideally one made of natural fibers like cotton, linen, or wool. Certainly cotton is the cheapest and simplest to come by, and it’s probably the best place to start. Further linen is more period and very comfortable, and wool or wool blends are excellent for warmth. To figure out how much to buy, multiply measurement #1 by 20cm. Cotton and linen fabrics shrink, so if you have the time, pre-wash your fabric (and always air dry). Some fabrics are already cleaned. Choose a white, dark or bright-colored fabric.
You’ll need to make some decisions about the style of your tunic before you begin. There are some of them:
- Firstly how long will it be?
- Whether the sleeves would be narrow, straight, or flared is a personal preference.
- How long will the sleeves be?
- Whether it’s a simple, keyhole, or something else, the neck is essential.
- If you want a contrasting fabric band around the sleeve cuffs or around the collar.
- Finally what kind of decoration do you prefer?
After that, you’ll need to take a few quick measurements. You may want to seek assistance with any of them. Fill in the blanks in the table below with your measurements.
1. Mid-shoulder to the bottom of the tunic’s desired length (floor is good for women, mid-thigh, knee or calf length for men).
3. From the center of the chest to the wrist (or a shorter length if you don’t want long sleeves). We typically work from the base of the neck to the wrist, following a bent arm.
4. Measurement of the chest (around widest part).
5. From the mid-shoulder to the waist.

| Measurement | Alter this measurement | New measurement | New name | |
| #1 | _cm | #1 minus #5 plus 2 cm | _cm | A |
| #2 | _cm | Halve #2, add 7cm | _cm | B |
| #3 | _cm | #3 plus 2 cm | _cm | C |
| #4 | _cm | Quarter of #4 plus 4.5 cm | _cm | D |
| #5 | _cm | Remains the same | _cm | E |
Drawing and Cutting the Tunic
Place the fabric length on a table or the floor. To make the cut edges meet, fold the fabric in half across the center. Further smooth out any folds or wrinkles. The fabric should now be folded lengthwise so that the selvedges (clean edges) meet. The fabric should be folded into quarters neatly. The shorter of the two folded edges will be referred to as the “Top” edge, while the longer fold will be referred to as the “Centre.”
Using chalk and a measuring tape, make some marks on the cloth. In a few places, measure down from the top edge by measurement B, and link the marks to form a straight line. This is how the sleeve is made. Label the wrist line with measurement C, measuring from the center fold out to the bias side. If the measurement doesn’t match on the fabric, make a note of how far it’s short and multiply it by 4 cm (which equals ______cm). You’ll need an additional piece of fabric that’s this long and as big as the sleeve to join it on. If you want the sleeve extension to join at the bicep rather than further down, the extensions will need to be much longer and the tunic sleeves will need to be cut much shorter. The extension must also be extended by 2cm.
You may also make the tunic slightly narrower at the wrists or flare out at the elbows.
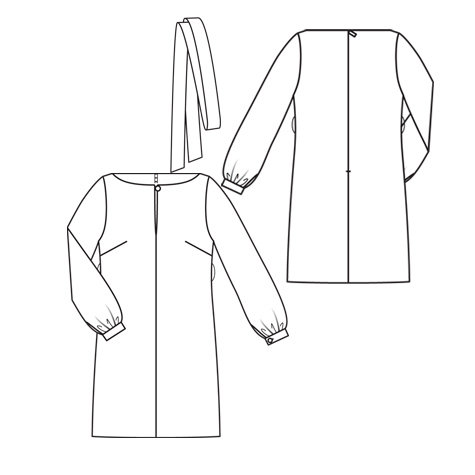
Next, take measurement D and measure out from the centerfold in many positions. Only the upper part of the cloth, down to the waist, needs to be marked (measurement E). Join the dots together. To create a nice underarm curve, round off the corner where this line meets the arm line (see diagram).
Measure down from the top in many places using measurement E, and attach the marks to form a waistline. To make a hemline, measure down from the waistline straight down by measurement A. A, 2cm from the edge, measured down from the end of the waistline by A, both straight down and bent so that the hem almost reaches the bias edge of the fabric (see diagram for what we mean).
Make a curved hemline by curving the line. Smooth out the side seam so the waist isn’t at a sharp angle. A continuous curved side seam should be present. Cut along the hemline and side seams of the tunic, running all the way to the wrist. If you need to cut out an extra sleeve piece from the leftover fabric, now is the time to do so.
Neck Hole
Start by measuring a comfortable circle that you can fit your head into if you need to make your own (it should be a bit bigger than your head circumference). To clarify this measurement refers to as F. To make a basic circle, multiply the circumference by 6.28 to get the radius, subtract 2 cm for a seam allowance, and cut out a quarter circle while the fabric is still folded.
Sewing the Tunic

Both the facing and the neckline should be open. The facing should be pinned to the inside of the tunic if you want it to end up on the outside. The neck holes should be the same.
Sew 2cm from the edge after pinning. If you’re making a keyhole neckline, sew the neckline about 3mm from the slit in the slit area—this might require some assistance. Then clip the seam at regular intervals to keep the facing smooth. Pin 1cm from the edge with the facing on the inside. Sew the facing down in a neat manner. You can also sew down the facing by hand. Pin and sew the sleeve extensions in place if possible.
Fold the tunic at the shoulder seams keeping right sides together. Try it on and pin along the side and underarm seams to make sure it matches. Finally sew if everything is in order.
How to make a tunic more professionally, we’ll recommend Beautiful Connection Group from NY, US. BEAUTIFUL CONNECTION GROUP is a professional wholesale clothing manufacturing company in the USA specialized in custom women’s apparels like coats, jackets, tops and dresses. Above all company grew alongside their customer base. They work to serve you at their best. BCG maintain the traditional tech experiences and at the same time look for artificial intelligence technology and the development and utilization of machines. They have always been working hard, trying to become the best high class women’s wear based in the fashion industry. They have been working with customers all over the world. Their consistent honesty & integrity in either business or society relations are key factors that make the local and international reputation of their company.