Sewing pleats exist in a variety of shapes and sizes, but sewing pleats always have the same basic structure and design. Pleats, which are frequently used as design features, have a particular effect on the fullness of clothes. Pleats are simple folds that minimize the width of your cloth while still allowing it to move. Consider a traditional pleated skirt that the pleats give the skirt some soft structure while still allowing it to bellow out as you walk.

Pleat Anatomy
Pleats have some fascinating jargon that helps you grasp their anatomy, as you’ll see in the movie. Here are a few terms you can start with.
Firstly pleat depth is the distance between the pleat’s exterior and inside folds.
Secondly pleat underlay equals the depth of the pleat multiplied by two.
Thirdly pleat spacing refers to the space between each pleat.
Types of Pleats
Pleats come in a variety of shapes and sizes, but the five most prevalent forms are described in the video.
Knife pleats have all of the outside folds facing in the same direction. Pintucks are a type of knife pleat; see the section below for additional information on tucks vs. pleats.
Accordion pleats are a version of the knife pleat, but with considerably tighter placement—and smaller pleat spacing!
Box pleats have the exterior folds facing in opposite directions, giving them a box-like form.
Inverted box pleats have the features of outer folds that face one another, similar to a box pleat.
Knife pleats are similar to radiating pleats, but they radiate out from a single point.
Have Fun with Pleats
Add Box Pleats
Box pleats are a timeless style. One per garment would suffice, or you can construct a sequence of box pleats on your skirt or dress.
The two folds of a box pleat face away from each other, creating a box-like pleat. This pleat is simple to make, and if your design doesn’t include one, you can easily add one yourself.

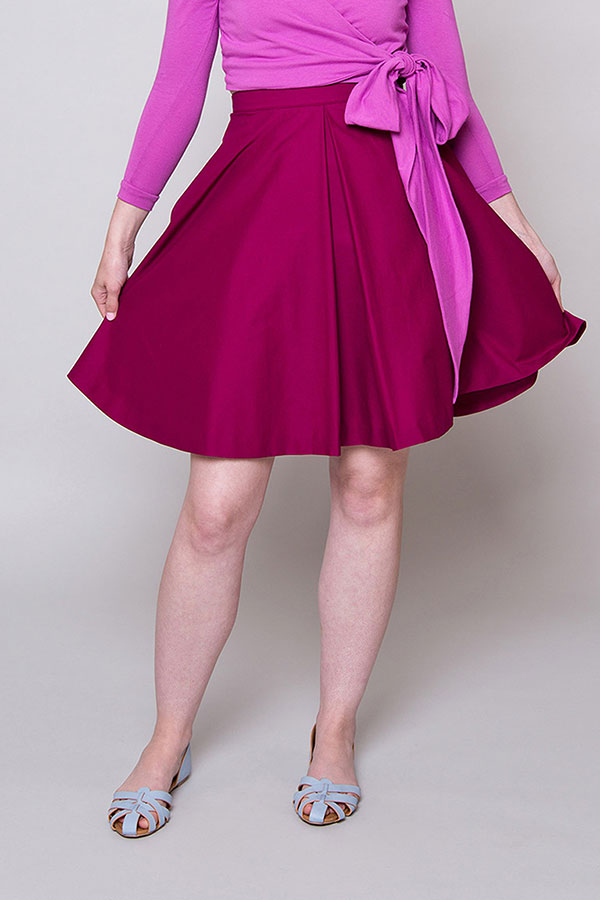
The Sorbetto top has a classic box pleat, while the Brooklyn skirt has an inverted box pleat.
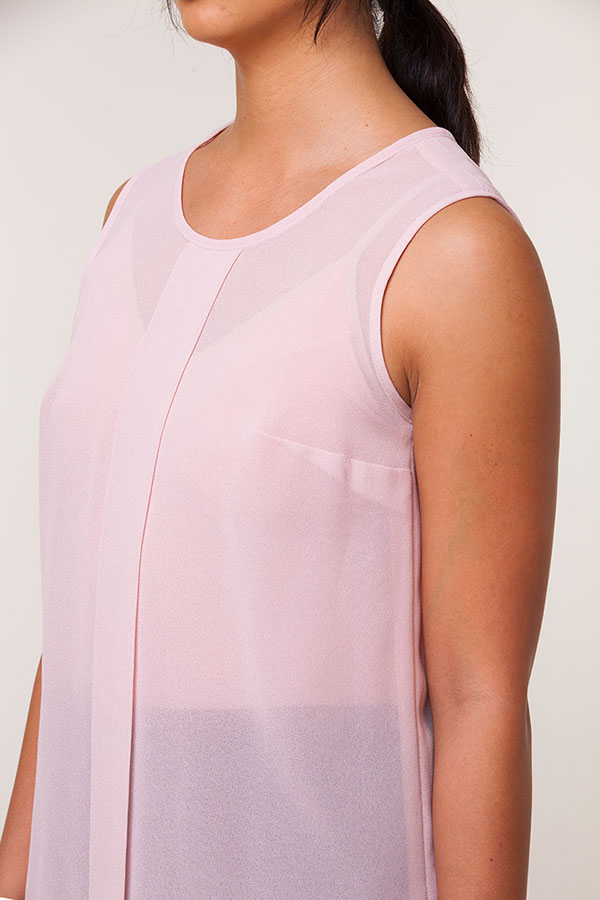
Create Tucks
To avoid offending sewing language purists, the distinction between pleats and tucks is minor and can cause some confusion. Pleats are secured on the top—or the bottom, or both, depending on the style of pleat—but they still have the ability to open. Tucks can be pleated or darted in appearance. Tucks are pleated folds that are completely or nearly completely fastened. A tuck is created by sewing down a portion of the length of a pleat.

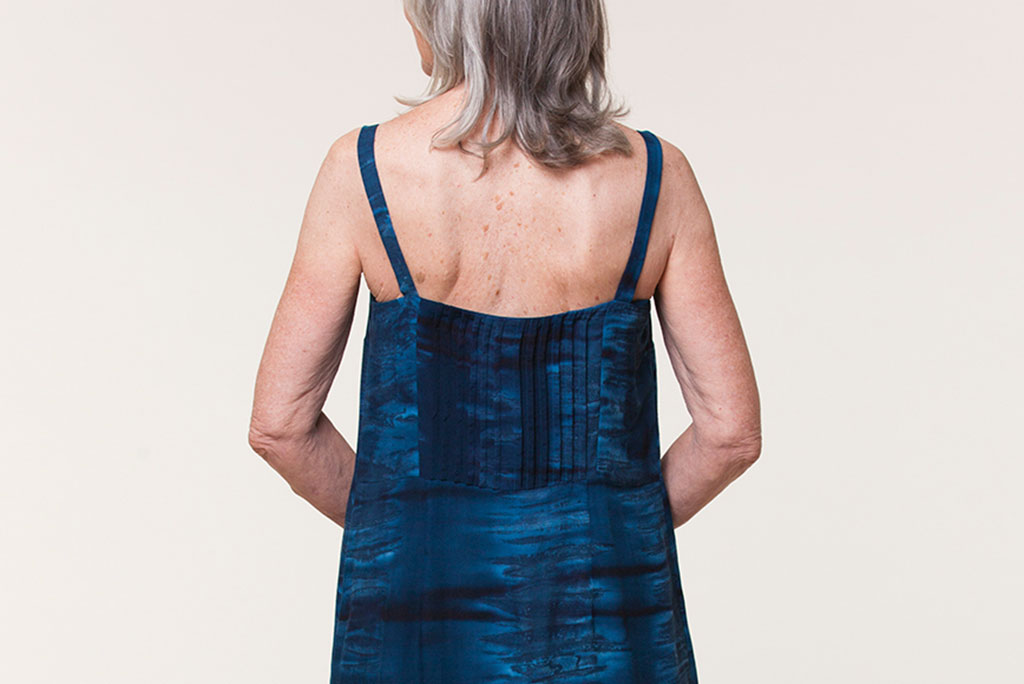
Pintucks are a playful, ornamental detail that we can add to any clothing. We show you how to make pintucks on the yoke of a dress in this tutorial from issue 21 of Seamwork. For a textured appearance, pintucks can be placed in pockets, shoulders, and other parts of a fabric.
Tip No. 1 – Pleat does not work with all fabrics
Which fabrics are ideal for pleats?
Pleated fabrics do not look well on anyone. Natural fibers such as cotton, linen, and silk are ideal for pleating. Thin synthetic fabrics (polyester, nylon) may not hold the pleats unless you use a lot of heat. Pleating is difficult with thin sheer and semi-sheer textiles like chiffon unless they are machine pleated.
Pleating chequered and striped fabrics, especially those with symmetrical lines, is the simplest method. These repetitive lines on the fabric serve as instructions for making even pleats by precisely folding the fabric.
Some textiles are better for gentle folds (wool), while others are better for crisp pleats (silk) (linen).
Pleats can be constructed with bias cut fabric when hanging fabric over a dress form to make a pattern for a very unique draped effect.
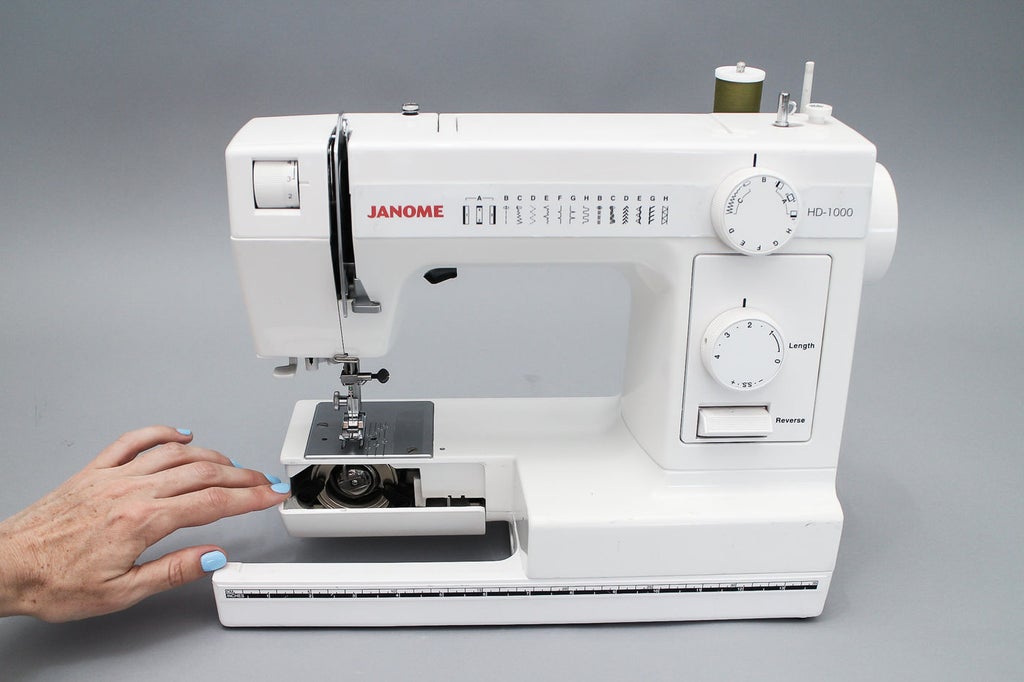
Tip No. 2 – Get the right tools for pleating
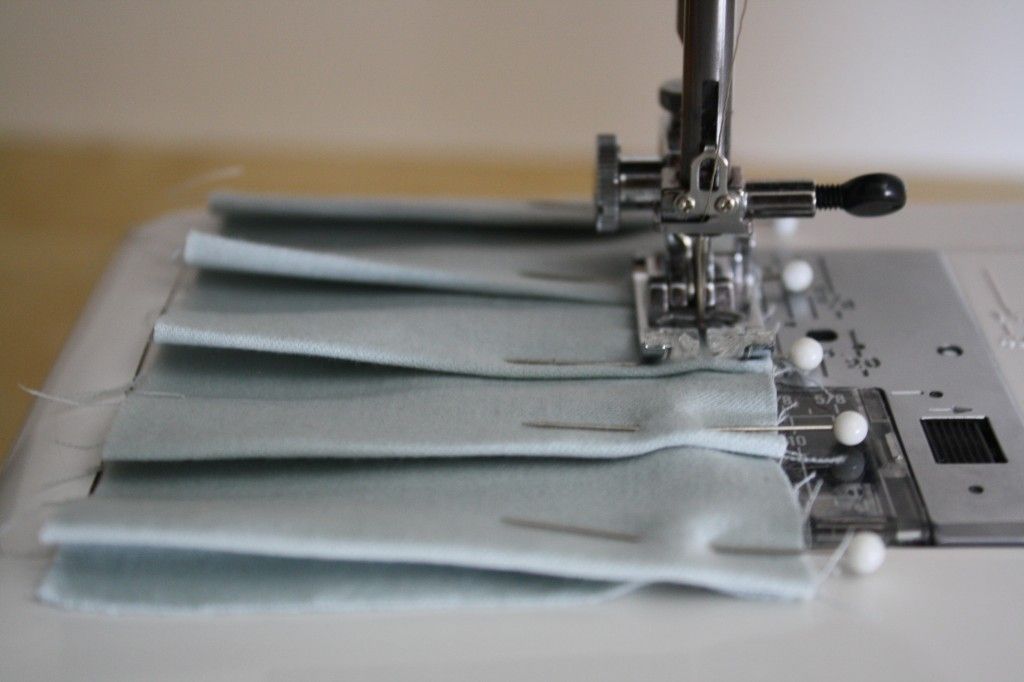
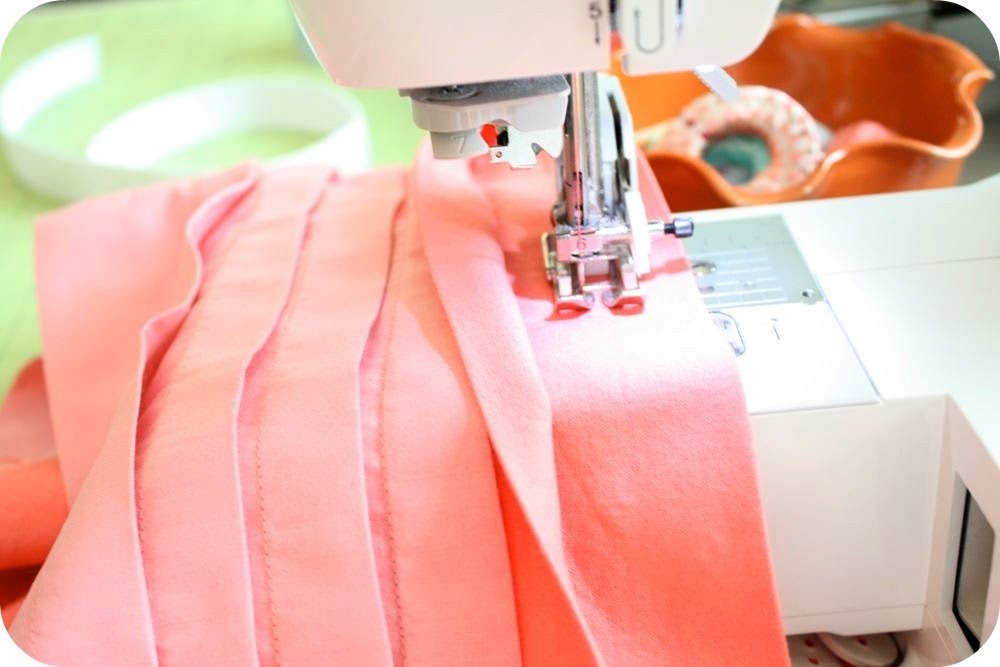
You’ll need a set of marking tools, a set of measurement instruments, and plenty of cloth. Pins are also required to keep the pleat folds in place. Pleating pins are little, sharp pins that are used for, you guessed it, pleating. You may want to stitch the pleats after pinning them to keep them more tight, which will require a hand sewing needle and thread.
Pleaters use pleating boards to make clean pleats. This can be purchased and the pleats steam pressed into place. Cut out cardboard pieces of the same size and use them to press the pleats as an alternative.
Tip No 3 – Marking the pleats
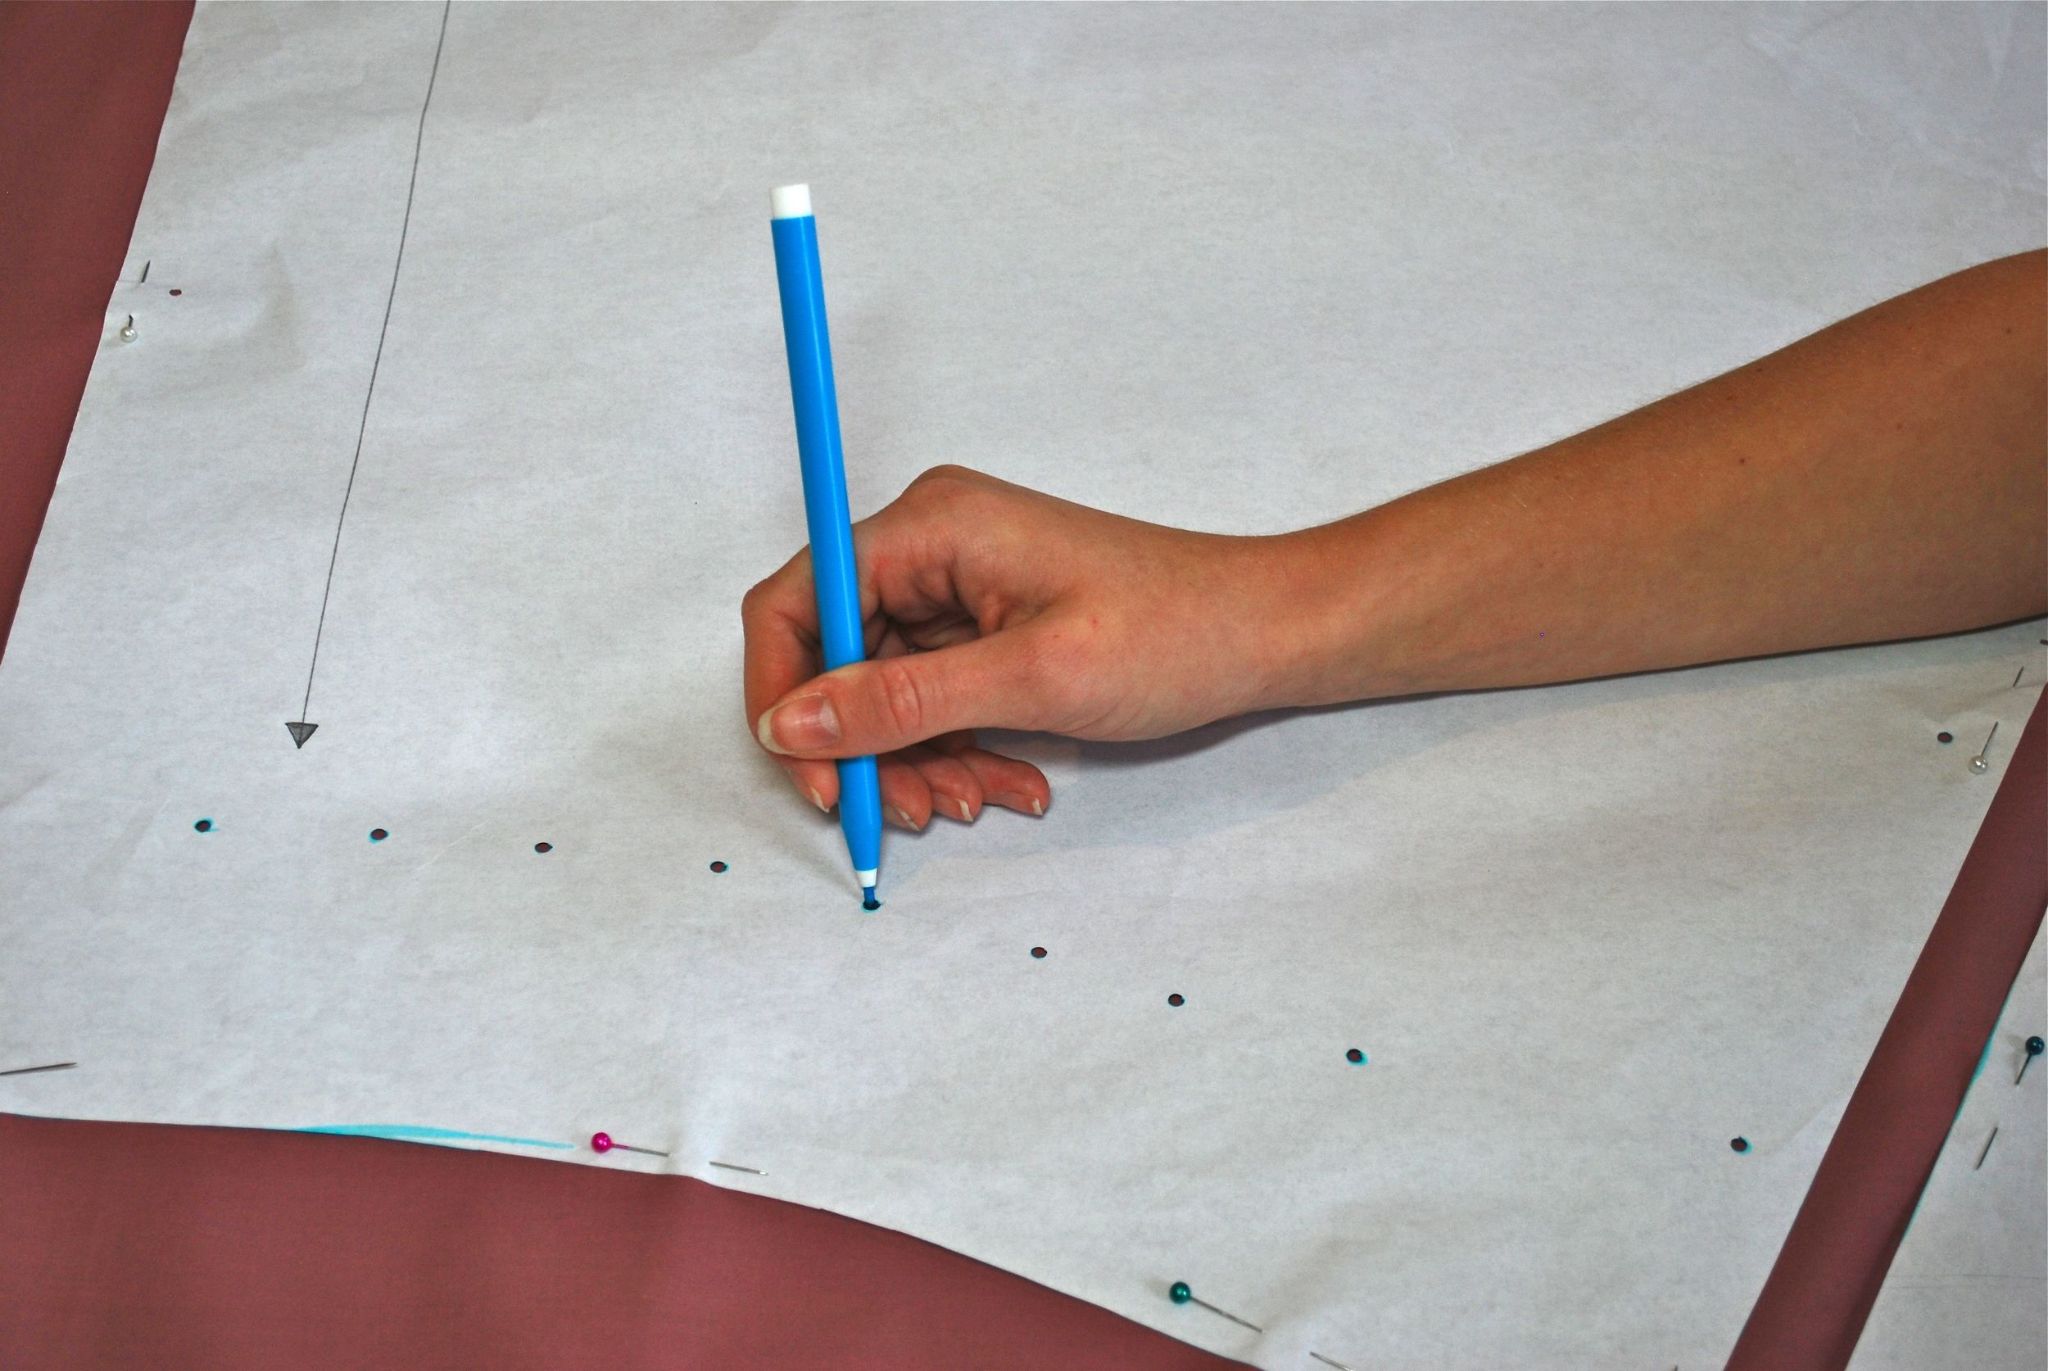
Pleats are marked with a fold line as well as a placement line. The fold line and the placement line must be parallel. Throughout, we have to maintain this.
Pleats are frequently marked on the garment’s right side. However, marking on the reverse may be necessary at times.
Outside of the seam line, use small scissors to snip mark the pleat lines on the seam allowance. This is more visible than chalked-on marks. Crease the fabric along the lines you’ve drawn.
If you don’t want to mark the cloth and want to construct straight pleats, you’ll have to use basting stitches to mark the vertical lines.
We have to place pins vertically along each pleat to keep the folds in place if utilizing pins.
Tip No. 4 – Pressing is very important in making neat pleats

If you want a soft look, merely press the joining region; if you want crisp pleats, press the entire pleat. This will create the appropriate creases to guide you during sewing. Check that the outside folds and placement lines are staying in the same alignment. Make sure all of the pleats are the same width.
You can dampen the fabric and press it in place for clean pleats.
Tip No. 5 – Baste stitch the folds in place

You can stitch along both the top and bottom edges. Taping the pleats down is an alternative to basting sewing.
Sew along the tops of the pleats, making sure they are not disturbed. Only when all of the sewing has been completed are the basting stitches removed.
Tip No. 6 – Test the tension of the sewing machine on the fabric
When sewing pleats, this will ensure that there are no puckers.
Tip No. 7 – Neat topstitching is easy
Topstitching along the fold helps to keep the crease in place. In most skirts, the edge stitching on pleats is completed until the hips, at which point we release them. The top stitching will be 1/8 inch from the folded edge, through the folds.
Tip No. 8 – Hemming
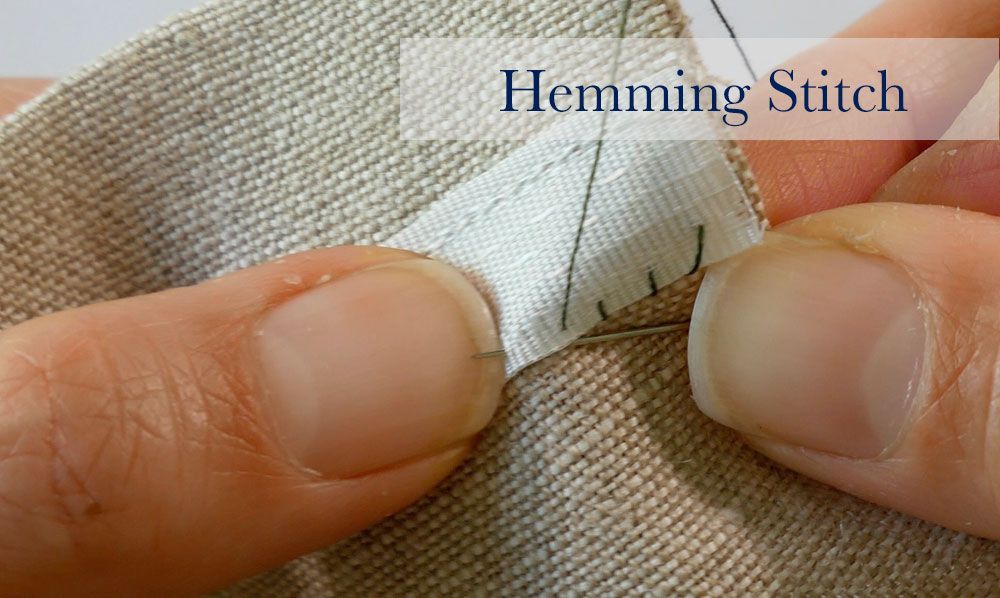
Pleating is frequently followed by hemming. It is the simplest method. However, after the pleating is completed, you may need to hem.
Trim the seam allowance of the side seams, particularly the bottom edge – you may want to trim extra finish the edges, press the seam allowance open before hemming.
Tip No. 9 – Seam Lines in pleated fabric
If you’ve already pleated and hemmed the fabric and wish to add more, make sure the new fabric has the same hem depth as the old; you’ll have to trim the seam allowance diagonally at the bottom edge so it’s not visible from the outside.
While pleating, make sure that any seam lines are hidden inside the pleats and not apparent from the outside.
Tip No. 10 – Fasteners and Plackets in pleated fabric
Pleackets are normally made after the pleat stitching is completed. The fabric pattern should be designed such that there is enough seam allowance to sew the placket.
So by now probably you have got the most easiest and necessary ideas regarding sewing pleats. But if you are still willing to get some amazing pleated fabrics and customized clothes, you can check out Beautiful Connection Group. They are one of the best clothing manufacturers in the USA. So you can get your wholesale clothes pleating from them.